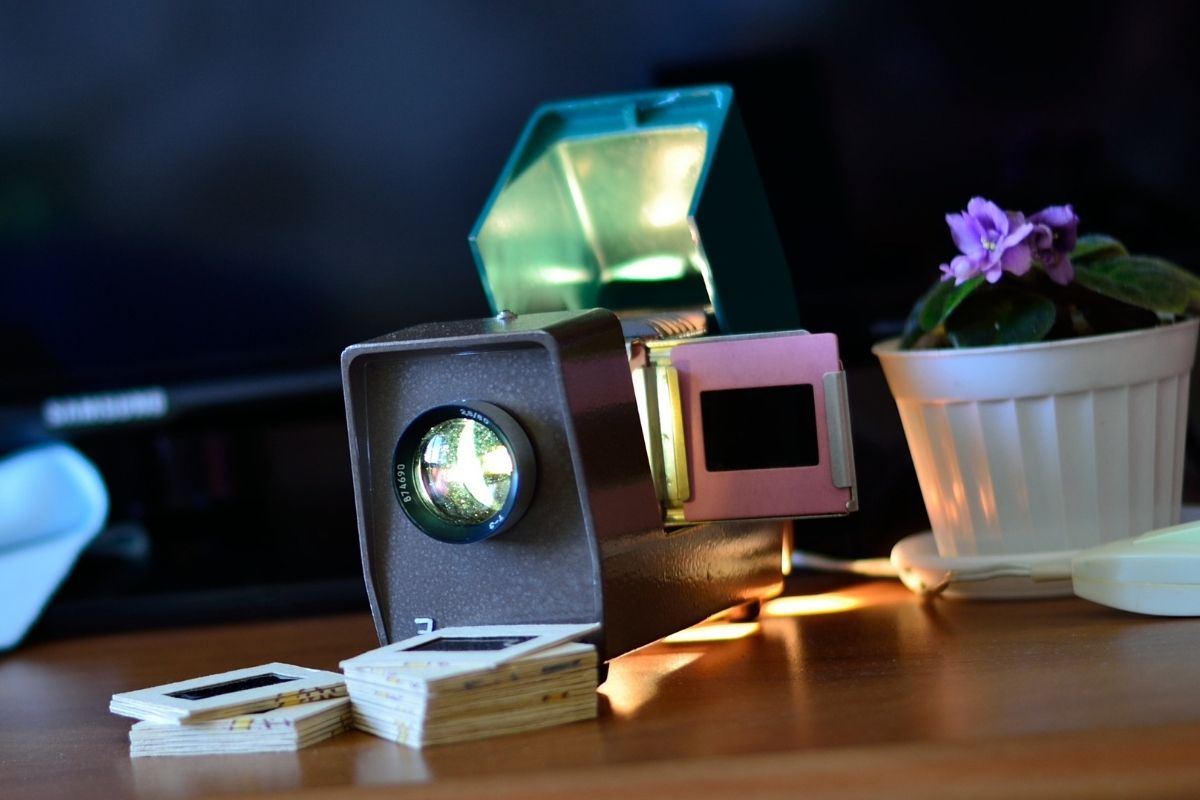
Believe it or not, you don’t necessarily need to cash out hundreds of dollars on the latest and greatest projector in order to enjoy a home cinema experience.
With a little imagination and careful planning – It’s possible to create a DIY projector from the comfort of your very own home…and we’re here to show you how!
Contents
Homemade projectors are a quick viewing solution that can be set up in a matter of minutes, and can be a great way to continue enjoying your favorite tv shows and movies on the big screen, and the best part?
You’ll only need a few items to put it all together.
This is where we come in to lend a helping hand!
Regardless of whether you happen to be on a budget or you simply want to try your hand at making your very own projector, just keep reading four of our simple and easy-to-follow instructions on how you can make a projector with a mirror.
How To Make A Homemade Projector: Step-by-Step Instructions
Gather Your Supplies
First things first, just like with any other type of DIY project, you’re going to want to begin by making sure that you have all of the supplies you’re going to need to make your homemade projector.
Here is a quick breakdown of what you’ll need:
- A mirror (small-medium sized)
- Smartphone
- Magnifying glass
- Cardboard box
- Scissors
- Glue
- Matte black paper
- Tape
Prepare The Cardboard Box
Once you have gathered all of the supplies that you are going to need to make your homemade projector, you are then going to need to begin preparing your box so that the mirror can slot inside.
Take your cardboard box (ideally, we recommend that you choose a shoebox as this is a perfect size) and cut out the two cardboard flaps located on the top of the cardboard box.
This will allow you to easily access the interior of the cardboard box that you are using without any restrictions. We recommend keeping the pieces that you have cut.
Darken The Interior
After you have cut the cardboard box, you can then go ahead and darken the interior of the cardboard box by using the matte black paper that you have gathered.
To do this, take the paper and use your tape to attach the black paper to the interior of the cardboard box until it has all been covered.
This is the quickest and most efficient way to darken the interior of your cardboard box, however, keep in mind that you can do this any way that you like.
For example, if you do not want to use matte black paper, then you could alternatively choose to use something such as black paint.
However, keep in mind that if you want to use paint to darken the interior of your cardboard box, then you are going to need to give the paint the appropriate time to dry before you proceed to the next step.
As a side note, if you are using dark paper to line the interior of your cardboard box, then you should be sure to use matte paper over glossy.
This is because glossy paper might actually cause the projection to become blurry.
Create The Lens
Now that the cardboard box is ready, you can then proceed to create the lens. To do this, take one of the cardboard pieces that you previously cut and make a small hole in the middle.
To do this correctly, take your chosen magnifying glass and place it over the top so that you can cut a hole that fits your magnifying glass.
Once you have done this, pop out the lens from the magnifying glass and insert it into the hole to create the lens.
Your lens is going to need to be propped up inside the larger cardboard box, so you’re going to need to stabilize it.
To do this, we recommend that you take the leftover black paper and fold them to create a rectangular shape.
Once you have done this, you can then go ahead and tape it to the back of the lens, and this will help to create a box/rectangular shape.
Make The Mirror
Next up, you are going to need to make the mirror to complete your projector.
This is super simple, as all you are going to need to do is simply insert the mirror you have chosen directly into the large cardboard box.
Ideally, we recommend that you position the mirror towards the back of the box so that it is aligned with the lens that you previously placed inside the box.
For the best results when you start to project, we recommend that you place the mirror at around a 45-degree angle, although this is entirely up to you.
Set Up Your Phone!
Last but certainly not least, the final thing that you are going to need to do is to set up your smartphone so that you can begin playing your favorite tv show or movie.
To do this, you are going to need to carefully cut a hole inside the lid of the cardboard box.
However, be careful that you do not cut a hole that is bigger than your phone, as you don’t want your phone to accidentally fall inside the box, instead, you want it to be elevated above the lens and mirror for the projector to work.
Once you have done this successfully, all you are going to need to do is simply close the lid and place your phone on top of it.
Then, you will be able to begin projecting your favorite tv shows and movies!
Wrapping Up
There we have it! As you can see, creating a homemade projector from scratch is pretty easy to do, and by following these steps we have shared, you’ll have your very own projector in no time at all.
Thanks for reading!