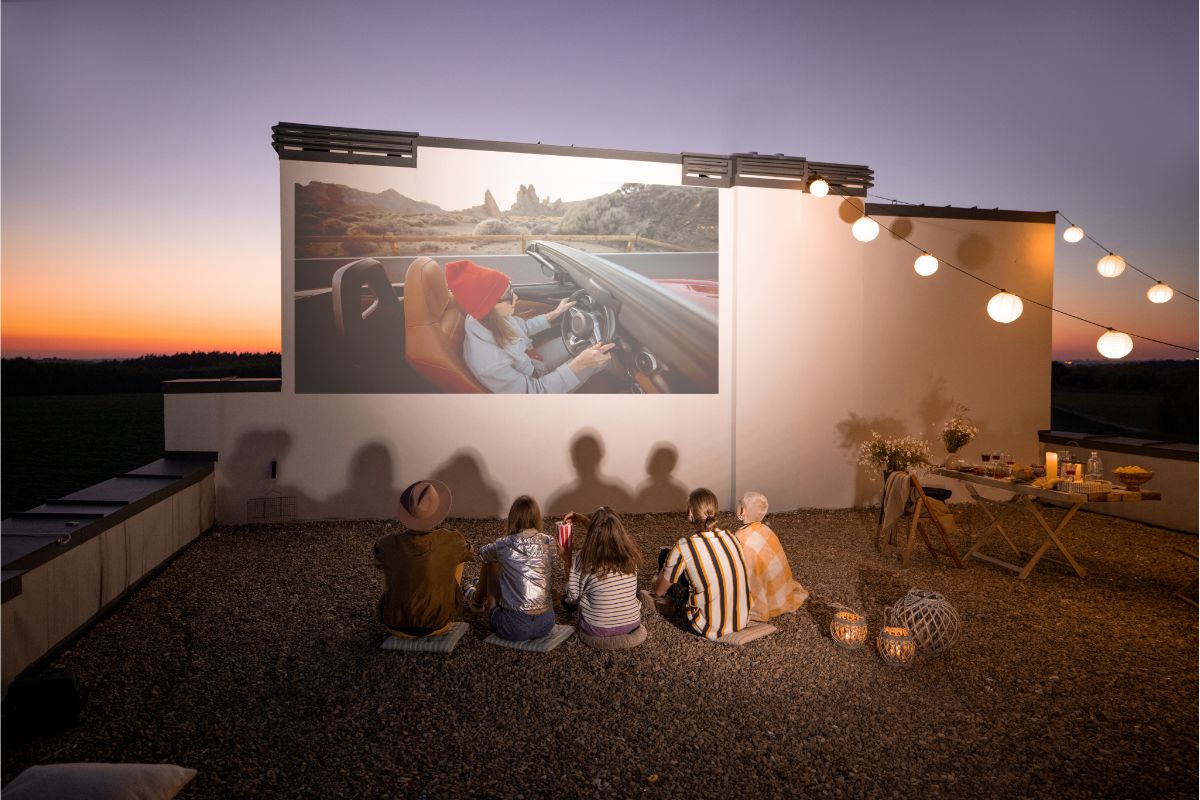
As a student living in a dormitory, you may be thinking of different ways that you can make your room feel more ‘homey’.
After all, this will likely be your home for the foreseeable future. By adding stuff to your room, you can make it more comfortable.
Projectors have become increasingly popular over the past few years, and for good reason. They are an easy way to turn a person’s bedroom into a make-shift movie theater!
In this article, we will discuss the pros and cons of having a projector, as well as providing you with our top picks of projectors for a dorm room.
So, let’s get started.
What Makes A Projector ‘Good’?
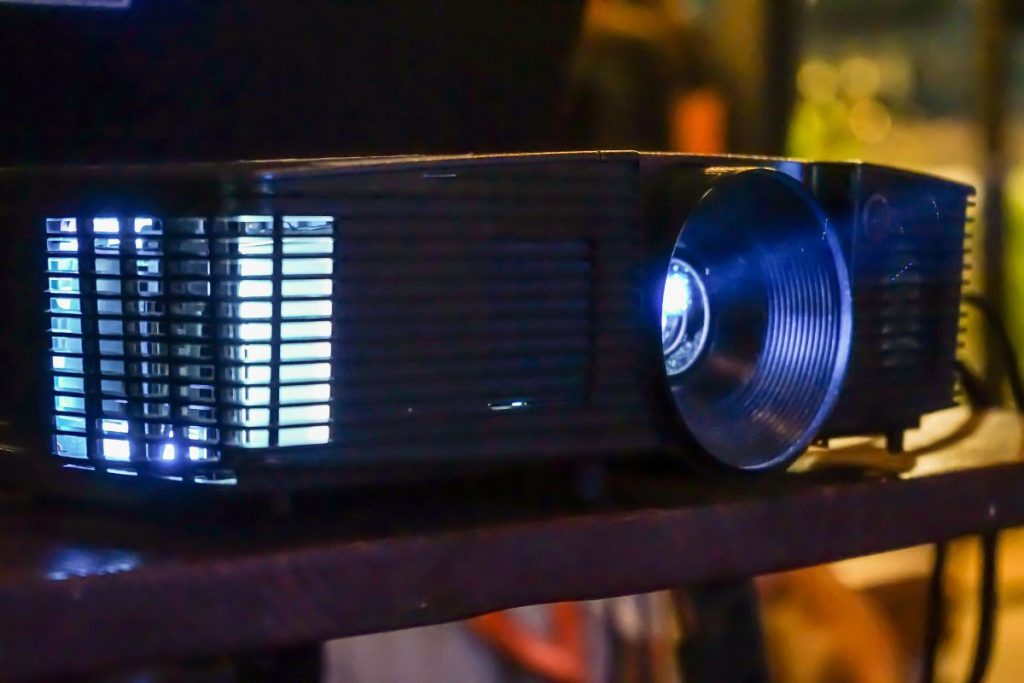
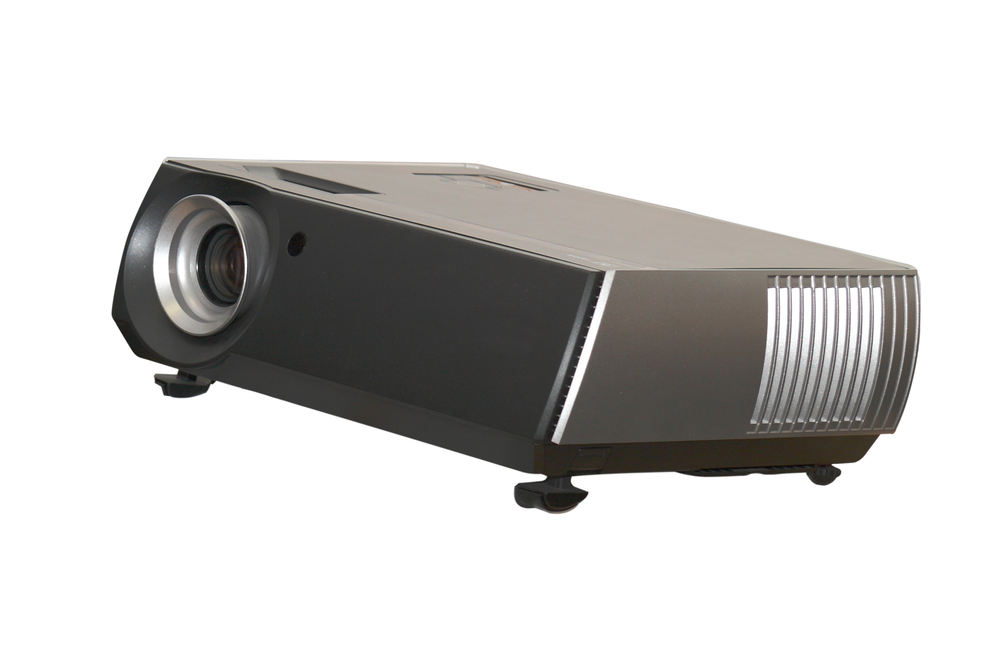
Most people know what a projector is; it is a small device that projects images and videos onto a wall, or a screen.
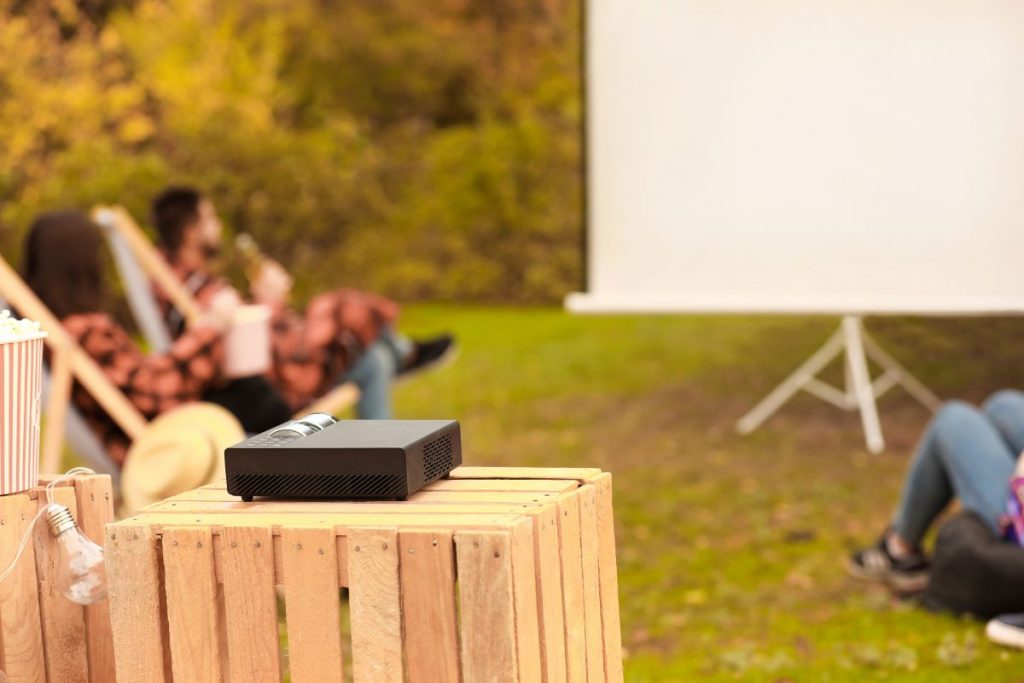
To put it simply, it is somewhat similar to a television screen, except it can be a lot larger, and is a lot easier to move around, meaning you can watch movies in your backyard if you really wanted to.
But, what makes a ‘good’ projector better than a bad one? What is a good projector? What aspects and features should you be aware of, and looking for when you buy one?
Below, we have listed three important factors that you should be looking for when you buy your very own projector.
The Connectivity Of A Projector
Similar to an HD TV, a projector can be connected to a wide variety of video and picture devices.
Standard definition sources are handled by composite or component video, whereas high definition video hardware, including gaming consoles or PCs, is connected via HDMI connectors.
The projector’s USB connections can be used to display images from USB sticks, and the VGA monitor sockets can be used to connect a computer or laptop.
If you decide to permanently place your projector, you’ll need to secure and conceal any cables; otherwise, it may look messy in the long run.
The Screen Options Of A Projector
When purchasing a projector, you will need to think about the screen that you will be projecting the images onto.
The use of a wall is the least expensive projector screen option, but the quality of the experience depends on how flat and lightly-colored it is.
You could also try hanging a white sheet on your wall, but this requires effort, and can appear quite messy when you are not using the projector.
A proper projection screen can also be an option. There are several varieties of manual projector screens, notably tripod and wall-mounted models.
Additionally, there are luxury motorized projector screens that can be tucked away when not being used.
The Brightness Of A Projector
When choosing the best projector, the light emitted by the device must be sufficient to cover the entire surface of the screen without becoming too intense over time.
Projector brightness is measured in lumens, and you typically spend more for a higher lumen rating.
1,300 to 1,500 lumens is more than enough for a projector that will be used in a dimly lit space. Only if your room has more natural light will you need more.
These are the numbers that you should be aiming for, if you want the best viewing experience.
8 Amazing Projectors For A Dorm Room
You will want to make sure that your dormitory room is as comfortable and roomy as possible. After all, this is your new home!
Therefore, you will want to choose the best products to fill your new home.
However, as a student, you will also be looking for products that are, somewhat, cost-friendly.
Below, we have listed 8 of the best projectors that, we believe, are best suited for a dormitory room.
We have also listed the pros and cons of each product so that you can make a thorough decision of which one you would like to grab for yourself.
So, let’s get into it. Here are 8 of the best projectors for any dorm room.
1. HI-04 Mini Projector
You may transform your dorm room into your own personal movie theater with the HI-04 Mini projector.
It is a great addition to any room, and is also incredibly portable and lightweight.
This projector, made by Dr. J Professional, has certain desirable characteristics already built in.
You will instantly fall in love with its simple and easy transportability, and how incredibly easy it is to use.
All the projector’s control buttons are visible and easily accessible, while dials for keystone or focus are also included.
A light with a 40,000-hour lifespan should last well into the next 30 years and counting.
Additionally, it enables gaming console pairings with a number of input options, allowing easy video game play in your dorm room.
The information is lucid and precise enough to facilitate better comprehension.
It is one of the best projectors for dorm rooms, despite the fact that the built-in speakers could have trouble producing clear sound.
By providing 840 by 480 native quality and delivering the image at roughly 170 inches (ca. 432 cm) diagonally, this top projector is ideal for movie nights.
The image looks fantastic on a large screen thanks to its 2000 lumen brightness and 2000:1 contrast ratio.
For the ideal streaming experience, we advise choosing a larger screen of 100 and 120 inches, however other elements may also contribute to a polished interaction.
Pros
- Offers a bulb life of more than 40,000 hours.
- Several inputs to utilize.
- Compact and easily portable.
Cons
- The audio quality could be improved.
2. Vankyo Leisure 3 Mini Projector
This portable and reasonably priced equipment was developed by Vankyo, a well-known manufacturer of projectors, so that everyone can buy it and use it to its full potential.
It is a fantastic method to catch up on movies and television shows while managing the pressure of examinations and studying in your dormitory room.
The Lesire 3 compact projector has a simplistic white design that keeps the front panel clutter-free, and has all the connectors at the rear.
To connect any digital external device, the projector has USB, HDMI, and VGA ports.
You can anticipate a vivid, clean, and crisp display with an 800 × 480 native resolution and 2400 lumens of brightness since the 2000:1 contrast ratio can bring out the subtleties of whatever you decide to watch.
Through the use of noise reduction technology, it offers outstanding utilization without any interruption.
Unfortunately, the Vankyo Leisure projector does not hold the ability to connect to your Wi-Fi, so you can only watch movies by connecting other devices.
This should not be an issue, however, providing you have movie-watching devices on hand. You could even simply use your smartphone.
Pros
- Compact and easily transported.
- Amazing display and vivid resolution.
- Built-in speakers.
Cons
- Device does not connect to Wi-Fi.
3. Poyank 6000 Lumens Wi-Fi Projector
The Wi-Fi Projector Poyank is one of the greatest selections if you’re seeking for the finest projector for your college dorm.
It is available with Wi-Fi support, and due to its modest weight, you won’t have to worry about moving the Poyank projector around your dorm room.
Due to its compact form factor, it may easily be placed in a small space’s corner.
In addition to being lightweight, the built-in speakers produce excellent, crisp audio, allowing you to enjoy movies or other audio files without increasing the volume.
The flat screen of the Poyank Wi-Fi projector is another advantage, making it better suited for people searching for an impact that will fit in a tiny space.
Although the screen isn’t extremely huge, the built-in speakers are fairly large, thus this is something you should take into account when buying.
Additionally, your laptop has two headphone connections that you may use to conveniently listen to your favorite music on your mobile device.
You may enjoy viewing your favorite shows and movies in your dorm room because it offers a clearer picture and audio quality.
Pros
- Completely wireless.
- Offers a bulb life of more than 50,000 hours.
- Compact and easily moveable.
Cons
- The screen is not very large.
4. DBPower L21 LCD Video Projector
Despite being slightly more costly than the other projectors in this list, the DBPower L21 LCD video projector provides excellent efficiency and durability for a relaxing movie-watching experience.
The projector offers two alternative resolution options: a native resolution of 1280 × 720p, and a compatible resolution of 1920 × 1080.
Playing video games or streaming full HD movies and television series is possible due to the high resolution.
The 3000:1 contrast ratio makes the colors appear true to life, crisp, and brilliant.
The screen is 40 inches in diameter, and you may position it at a 1-meter distance. If you live in a huge dorm room, you may even adjust the screen to 200 inches in 5 meters.
It is a versatile projector for dorm rooms that are tiny, medium, or large. Together with the assistance provided by the built-in speakers, the audio quality is likewise exceptional.
You don’t need to buy speakers, thus it also reduces your overall expenditure.
Plus, you won’t have to switch through your smartphone, tablet, or computer because the dongle makes it possible to connect your devices to the projector directly, or without using any cables.
This projector is among the top projectors for dorm rooms because of its features and functionalities.
Pros
- Exquisite contrast and resolution.
- It comes with a dongle that can be used to change what you are watching.
- Large projection screen.
Cons
- More expensive than the most other projectors on this list.
5. Hompow Portable Mini Projector
The Hompow mini projector, which functions as a little home theater system, is in charge of providing the highest-quality image with maximum illumination and cutting-edge tech compliance.
It’s a small, lightweight projector that works great in college dorms. Its quick assembly and simple administration are attention-grabbing enough.
It is a basic movie projector with a screen size throw of roughly 176 inches. This portable tiny projector is white and has a large front lens.
As Hompow kept the style and material minimal with a trademark at the bottom, you wouldn’t find anything on the projector.
The projector’s 2400 lumens and 2000:1 contrast ratio produce a fantastic display. You can focus on minute details on the screen thanks to how crisp the items are.
The display is bright enough for films, games, and television shows with 1080p resolution.
It features connectivity options including USB, AV, HDMI, and more. These port inputs can all be found at the back of the device.
The color temperature of this finest tiny projector for dormitories is adjustable, adding a better experience for your viewing.
The size of the screen can change depending on your room and how much distance you can afford to keep.
The sharpness and audio, however, won’t be severely impacted by the screen size.
Pros
- MHL link connectivity for linking smartphones.
- Built-in speakers with great audio quality.
- 50,000 hours maximum lamp life.
Cons
- There could be more extended ports included.
6. Azeus RD-822 Mini Projector
One of the latest video projectors that are suitable for dorm rooms is the Azeus RD-822. This setup, which goes by the name Azeus Rooms, is ideal for any size of dormitory room.
Not only is this one of the finest video projector for dorm rooms, but it is probably the best video projector to use in this list.
The Azeus RD-822 is extremely space-efficient, and will fit neatly in the corner of your room.
This means that you will save a huge amount of space in your dorm when you have items that fit conveniently in confined areas.
The compact style of this projector blends well with the other furnishings and decor in your room.
The fact that this electronic device’s sound quality isn’t the best, although having excellent picture quality, is one of its only drawbacks.
For the best audio quality, you might want to think about utilizing or buying a different set of speakers in addition to the Azeus RD-822.
Overall, we definitely recommend this product, as it is a great choice for anyone living in a dormitory.
Pros:
- Exceptional picture quality.
- Comes with a 3-year warranty.
- Extremely space-efficient and compact.
Cons:
- The audio quality could be better.
7. Yaber Y21
The Yaber Y21 projector has a number of outstanding features that make it ideal for dorm room projects, despite the fact that it may not be the largest among other projector kinds.
It can be ready for use in a matter of minutes with its quick and simple setup, making it a great addition to any dorm room.
While playing digital content, it has an integrated 50 degree horizontal and vertical Keystone correction that seamlessly rectifies any unwanted distortion.
Its 10000:1 contrast ratio and 7800 lumens guarantee to produce a vivid, crisp, and sharp image on the screen.
With its variety of gadgets, you may enjoy a screen as large as 300 inches (7.62 meters).
MacBooks, PCs, Xboxs, PS4s, Blu-ray or DVD players, Apple or Android TV boxes, iOS devices, and many other devices can be paired with this projector.
You don’t need to bother about an additional box or bulb to offer light in the room, unlike some other projection lights.
You may use the Yaber Y21 anyplace as it is a hand-held device, and very compact.
This is the ideal projector for you if you require one that offers a high level of contrast and consistent luminance.
In order to get the greatest visual while projecting, it offers a brighter image than most projectors, and even has a white balance adjuster.
Pros
- Outstanding brightness settings.
- Compatible with several devices (PC, Xbox, PS4, etc).
- HD quality.
Cons
- There is only one level adjustment offered.
8. BenQ TH685
You can use the BenQ TH685 as either your primary or secondary monitor. It is a sizable flat panel display.
Since the monitor has speakers built in, you won’t need to acquire a separate sound system for your dorm room if you want to listen to music.
Compared to purchasing a sound system for each person in the room, this option will be far less expensive for you.
The ideal projector for dorm rooms need to fit your space without giving the impression that it is cramped.
Additionally, you will utilize this projector type for many years as a student because of its long lifespan.
A potential downfall to this device is that there are only 2 HDMIs, but overall, this is all a person really needs for a projector.
Plus, as you won’t need to add a separate audio speaker, you will likely find that you won’t need to use more than one HDMI anyway.
Also, this is a lot more expensive than the other projectors mentioned above, but the quality and features speak for themselves.
If you want the best of the best, you may want to invest a little more money!
Pros
- Great audio quality.
- 4K picture resolution.
- Compact and easily moveable.
Cons
- Only 2 HDMIs available to use.
Should I Get A Projector Or A TV For My Dorm Room?
As we get closer to the end of this article, we hope that we may have helped you make your mind up on whether or not you want to buy your own projector.
Of course, there are other options out there for watching movies and playing video games. You could, instead, purchase a small television.
The biggest disadvantage to buying a TV instead of a projector is, of course, the price. As we briefly discussed earlier, a television will be a lot more expensive than a projector.
If you want to save your dollars, you would be better off investing in a projector.
Projectors can also be moved and stored away between usages. With a television, you cannot move it; it is pretty much permanently placed wherever you originally put it.
This can be an advantage and a disadvantage! It would be easier to simply click a button and watch TV than rummaging through your things to set up your projector every time you want to watch a TV series.
On the other hand, a television can take up space that could be used for other devices and items.
So, ultimately, it is your decision whether you would prefer to have a projector or a television.
Both achieve similar results, so it really comes down to how much money you are willing to spend, and how much storage space you have available in your dorm room.
The Pros And Cons Of Having A Projector
You may be wondering if it is truly worth spending your money on a projector, even if you know it’ll be a cool edition for your dorm room.
Well, we are going to be completely fair and honest with you; below, we have listed 3 pros and 3 cons.
We recommend that you take each statement into consideration before making any decisions.
Pro: The Cost Of A Projector
In general, projectors are a lot less expensive than competing HD televisions.
A 108-inch TV, for instance, would cost tens of thousands of dollars, whereas with a projector, you could get the same screen size – or larger – and HD image quality for considerably less money.
Con: The Sound Quality Of A Projector
Even though some projectors come with built-in speakers, a large screen would require a powerful home theater audio system to do it justice.
If you choose to get a projector but neglect to purchase additional speakers, it could be challenging to hear every word spoken in the film or show.
Pro: The Screen Size Of A Projector
You may view a movie the way the director truly envisioned with the perfect projector setup, or you may find yourself noticing tiny details in your favorite video game that you never saw before.
Depending on your taste, you can also get 3D and 4K projectors in addition to high-definition ones.
Con: The Lighting Requirements For A Projector
Any external light that enters the room will have an impact on a projector’s effectiveness, unless the curtains are drawn, or the blinds are drawn tightly.
Even in a completely black room, any light source that peeks through a lowered curtain might degrade the image’s clarity and sharpness.
Blackout blinds or curtains can be used to block out extra light.
Pro: The Viewing Experience With A Projector
Many individuals believe that projectors can actually provide a more comfortable watching experience due to the bigger screen size, and lower average brightness compared to a television.
The visual is often more engaging, just like in a movie theater… and, hey, who doesn’t want a movie theater in their own bedroom?
Con: Lamp Replacement Of A Projector
The additional expense of having to change a projector’s lamps on occasion — at very least, once a year — is a burden.
You should look for a projector with a long-lasting light when making your selection. When we examine particular projectors later in this post, we will go into greater detail on this.
Final Thoughts
You can now take a little time to unwind while doing your college assignments. You can use a portable projector to watch a video, watch a movie or TV show, or play video games.
The specifications, features, and cost are the only criteria you need to consider when selecting the best projector for a college dorm room.
To be sure you are obtaining the greatest projector for your budget, you should evaluate the resolutions of the different models.
Additionally, you need to examine the projector bulbs’ longevity. You can stream videos and movies or play games easily as a result, and the visual and sound quality are fantastic.
We hope you found this article helpful and informative.
